Back in February, I was home visiting my mom and she was knitting… well, she's tried to teach me to knit time and time again for years and for some reason, it just never "stuck". Well, when I was home, I asked her to show me again how to knit. So we go through the same thing, she teaches me the basic garter stitch, she teaches me to cast on, to knit, to purl, and sends me home with a pair of needles that I promptly toss in a corner and don't think about again.
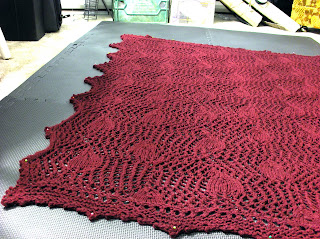
Well, something hit me in July. I was wandering around Micheal's and bumped into the yarn section. Something made me buy a set of round needles and (way too much) burgundy yarn. I went home, found the internet, and a pattern and started knitting.
Well, now I'm stuck and I've been knitting like crazy ever since. I bought some books, bought some needles, and am now throwing myself unceremoniously into the land of christmas gift knitting. Oh boy.
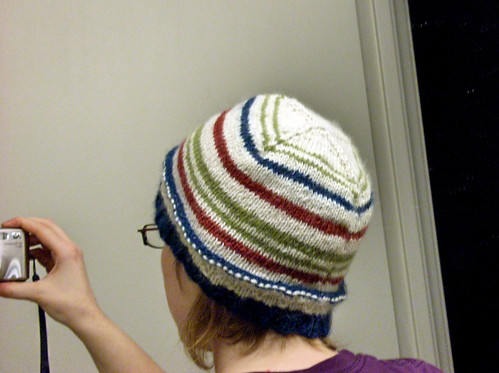
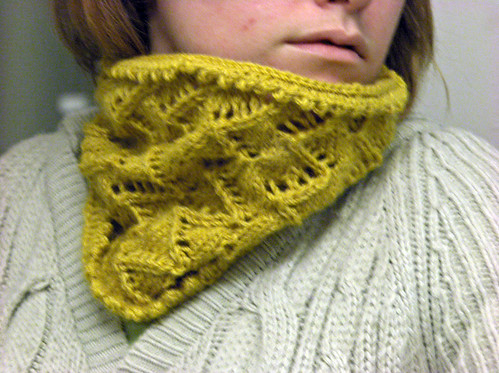
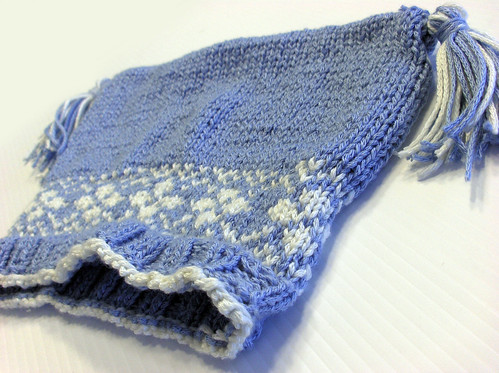
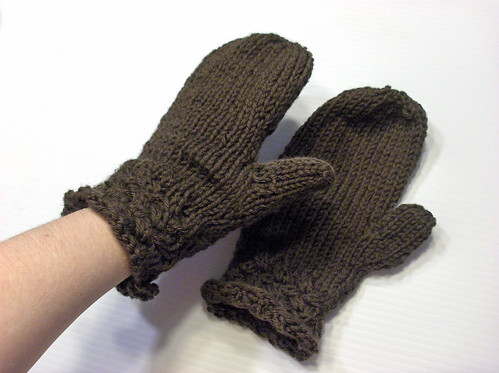
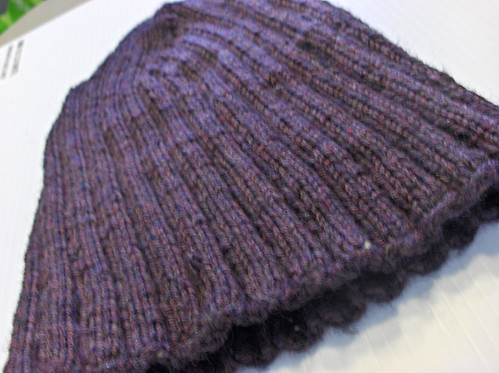
I won't post pictures of the first few things I've knitted, as they're not too note worthy, but I will post on what I just completed. The pattern I used was the "Slouchy Copy Cat Hat" at slomoeknits.wordpress.com (pattern at the website). Behold!


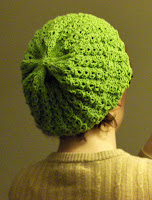
I'll repost the pattern in case anyone was interested in giving it a shot:
The Slouchy Copy-Cat Hat
Materials:
Cascade 220 Quattro – colour 9435 Jamaica (Greens)
4mm 16” circular needles for ribbing
5mm 16” or 20” circular needles for main body
5mm double point needles
Gauge:
~ 18 sts = 4” stst in the round on 5mm needles
~ 5 sts = 1” in k2p2 ribbing unstretched (with ribbing, who the heck really knows?)
Cast on 76 sts with 4 mm needles, place marker, and join in the round.
Work 2×2 ribbing (K2, P2) for 1.75 inches.
Next round: M1 *K2, M1* repeat from * to end. 115 stitches.
Change to 5mm needles and work in eyelet mock cable ribbing.
Eyelet Mock Cable Ribbing (multiple of 5 sts):
Row 1: *K3, P2* Repeat from * to end.
Row 2: *K3, P2* Repeat from * to end.
Row 3: *SL1, K2, PSSO, P2* Repeat from * to end.
Row 4: *K1, YO, K1, P2* Repeat from * to end.
Continue in pattern until hat measures about 8.5” from cast on edge, ending after Row 1 or 2 of the stitch pattern (to make sure you still have 115 stitches before starting the decreases).
Begin decreases, switching to double points when needed:
Row 1: *K3, K2TOG* Repeat from * to end. 96 stitches.
Row 2: K all the way around.
Row 3: *K2, K2TOG* Repeat from * to end. 69 stitches
Row 4: K all the way around.
Row 5: *K1, K2TOG* Repeat from * to end. 46 stitches
Row 6: K all the way around.
Row 7: K2TOG all the way across. 23 stitches.
Row 8: K all the way around.
Remove marker, and K2TOG until 8 stitches remain.
Author's blog: http://slomoeknits.wordpress.com/
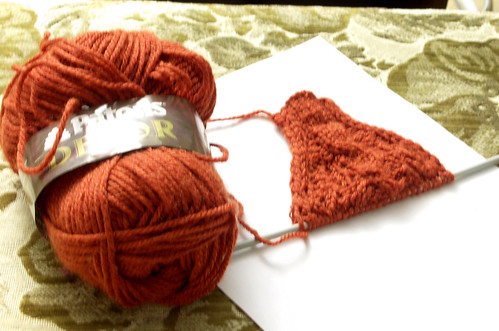
In progress: I'm knitting various items for friends and family. I know, I'm probably crazy, but I'm knitting a scarf for my bro (Pattern at Bella Knitting)
A photo of my progress so far:

I'm using 9mm needles and a heavy acrylic yarn because I wanted it to be bigger/looser so that's why mine looks so odd in comparison to the one at Bella Knitting (love her stuff, by the way!)
The original pattern:
Using US 8 (5mm) needles, loosely cast on 19 stitches. Knit 2, *yo, sl1, k2, psso, repeat from * to last 2 stitches, knit. Repeat for every row until scarf is desired length. Bind off loosely. Block if desired — blocking will open up the scarf and enhance the lacy look.
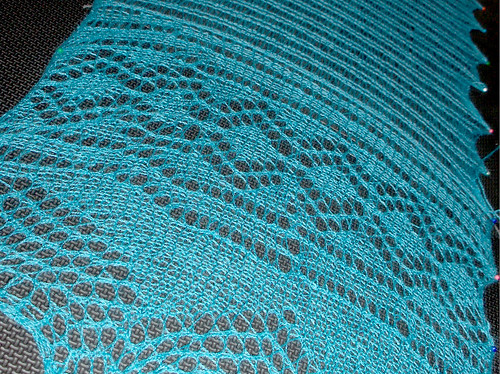
 Here's a closeup of the stitch. Abbreviations:
k - knit
psso - pass slipped stitch over
sl - slip
yo- yarn over
Happy knitting!


